


Brake caliper covers protect your vehicle's braking system from corrosion, debris, and damage, maintaining both functionality and aesthetics. Common issues include cracks, chips, peeling, or warping. Neglecting these problems can lead to reduced braking effectiveness and unsightly wheels. Regular inspection and timely repairs are crucial, especially with performance upgrades. To repair minor damage, ensure you have the right tools and safety gear, prepare a clean workspace, and prioritize safety. The process involves inspecting, preparing, sanding, priming, and painting the damaged area, matching the surrounding color. Repaired covers can accommodate additional components like suspension kits or exhaust mufflers.
“Keep your vehicle’s braking system looking pristine with our guide to repairing minor damage on brake caliper covers. These covers, not only cosmetic but also protective, are prone to scrapes and dents from road debris or accidents. Understanding the common damages and preparing with the right tools and safety measures is key. By following a step-by-step process, you’ll learn how to restore your brake caliper covers to their original condition, enhancing both aesthetics and functionality.”
- Understanding Brake Caliper Covers and Common Damages
- Preparing for Repair: Tools and Safety Measures
- Step-by-Step Guide to Repairing Minor Damage on Brake Caliper Covers
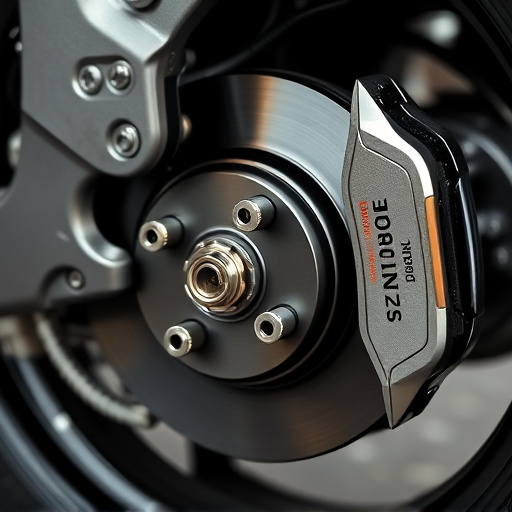
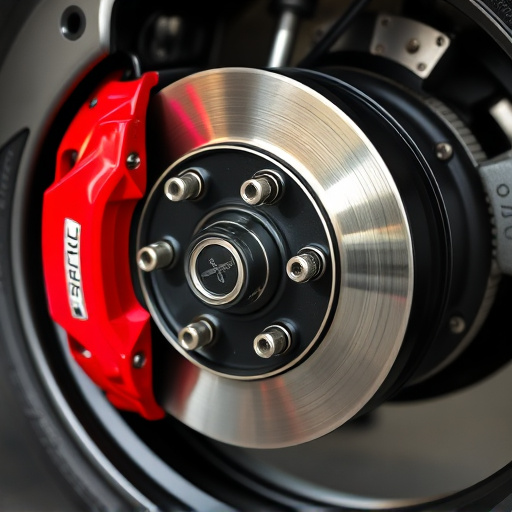
Understanding Brake Caliper Covers and Common Damages
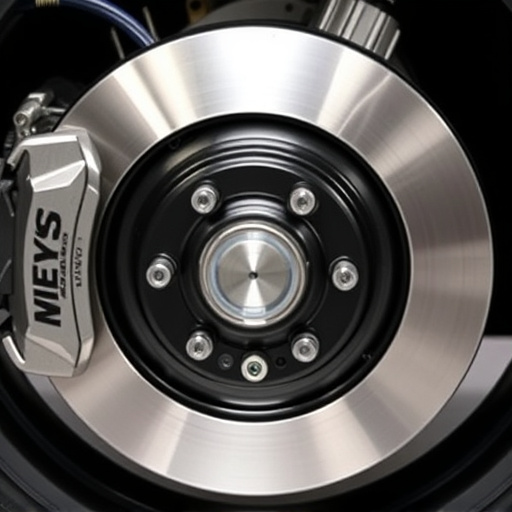
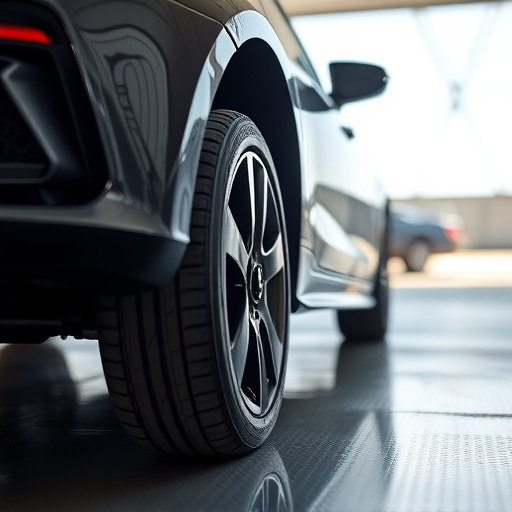
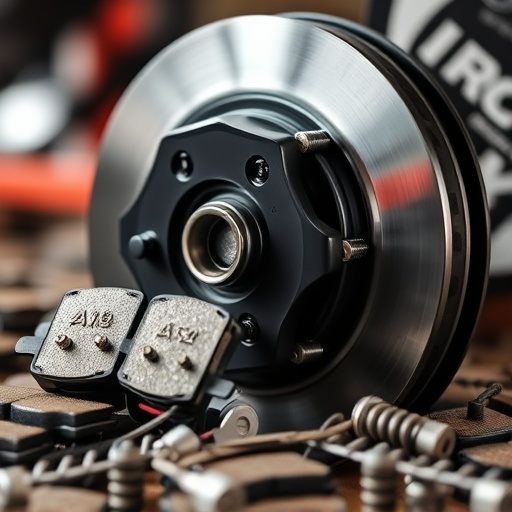
Brake caliper covers, also known as caliper shields or brake dust protectors, are an essential component of a vehicle’s braking system. They serve a dual purpose: protecting the calipers from brake dust and debris, which can cause corrosion and damage over time, and enhancing the aesthetic appeal of the wheels by preventing unsightly brake dust buildup. Common damages to these covers include cracks, chips, peeling, or warping due to extreme heat or impact.
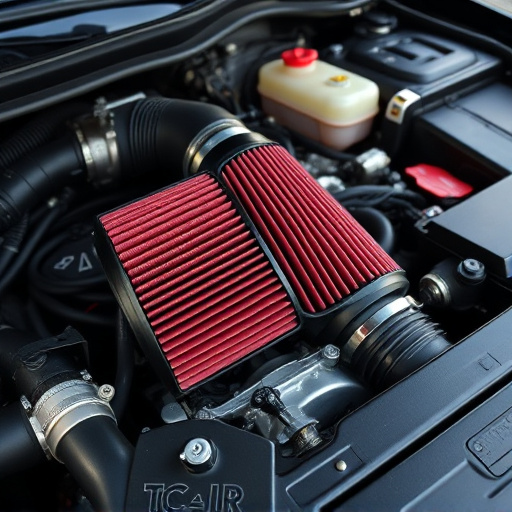
While driving with damaged caliper covers might not directly affect braking performance, it’s crucial to address these issues for safety and cosmetic reasons. Ignoring minor damage can lead to more severe problems, such as reduced braking effectiveness or unsightly wheels that detract from your vehicle’s overall look. Regularly inspecting your brake caliper covers and taking proactive measures to repair them is a smart step in maintaining both the functionality and visual appeal of your car’s braking system, especially when complementing it with performance upgrades like cold air intakes or performance exhausts and air filters.
Preparing for Repair: Tools and Safety Measures

Before tackling any repair work on your vehicle, it’s crucial to prepare yourself with the right tools and safety gear. For repairing minor damage on brake caliper covers, you’ll need a basic set of automotive tools including a socket set, wrenches, screwdrivers, and pliers. Ensure your workspace is well-lit and clean to facilitate accurate work.
Safety should always be a top priority when working on high performance parts like brakes. Wear safety glasses to protect your eyes from debris and use gloves to avoid skin contact with chemicals or sharp objects. Additionally, consider using air filter kits to maintain optimal airflow and performance brakes for enhanced stopping power, ensuring you have the right components in place before beginning the repair process.
Step-by-Step Guide to Repairing Minor Damage on Brake Caliper Covers
Repairing minor damage on your brake caliper covers is a relatively straightforward process that every car owner should know. Start by inspecting the affected area and identifying the extent of the damage, which could range from small cracks or dents to peeling paint. Gather your tools and materials, including a mild soap solution, sandpaper (grit 400-600), primer, and high-quality paint that matches your vehicle’s color.
First, wash and dry the caliper cover thoroughly. Then, use fine-grit sandpaper to gently buff away any damaged or peeling paint. Ensure you don’t sand too aggressively to avoid damaging the underlying surface. Next, apply a thin layer of primer, allowing it to dry completely. Finally, paint over the repaired area using even strokes, matching the surrounding color as closely as possible. Let the paint dry completely before installing any additional components like suspension kits, cold air intakes, or exhaust mufflers, ensuring a seamless fit and finish.
Repairing minor damage to your vehicle’s brake caliper covers is an easy DIY project that can significantly enhance your car’s aesthetic appeal. By understanding common issues and following a simple, step-by-step guide, you can effectively restore the original look of these crucial components. Remember, proper preparation and the right tools make this task swift and safe. Now, you’re equipped with the knowledge to navigate through this process, ensuring your brake caliper covers stay in top condition for years to come.