


Brake caliper covers enhance vehicle aesthetics and protect calipers from environmental damage, but they can wear over time. Replacement involves preparation with necessary tools and safety gear, including socket wrenches and a jack. The process begins by removing the wheel and securing it safely. Next, loosen old cover screws while ensuring nearby components are protected. Old covers are removed, calipers inspected, and the area cleaned. New covers are lubricated, fitted, tightened, and double-checked for secure connections before driving.
Tired of unsightly rusted or damaged brake caliper covers marring your vehicle’s aesthetics? Learn how to replace them without causing further harm. This comprehensive guide walks you through the process, from understanding the role and common issues with brake caliper covers to preparing your workspace and safety measures. By following simple, step-by-step instructions, you’ll have your vehicle looking sleek and improved in no time.
- Understanding Brake Caliper Covers: Their Role and Common Issues
- Preparing for Replacement: Tools and Safety Measures
- Step-by-Step Guide: Replacing Brake Caliper Covers Efficiently and Without Damage
Understanding Brake Caliper Covers: Their Role and Common Issues
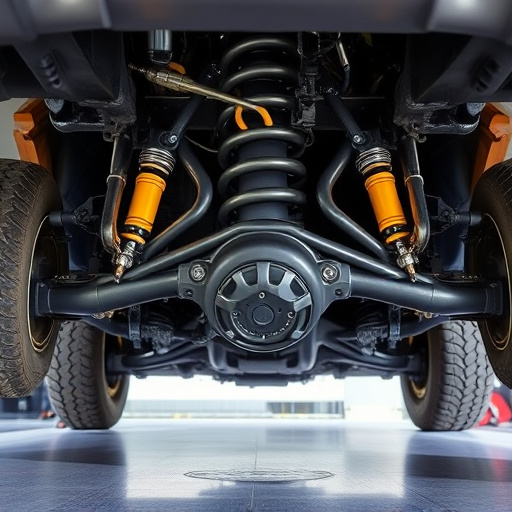
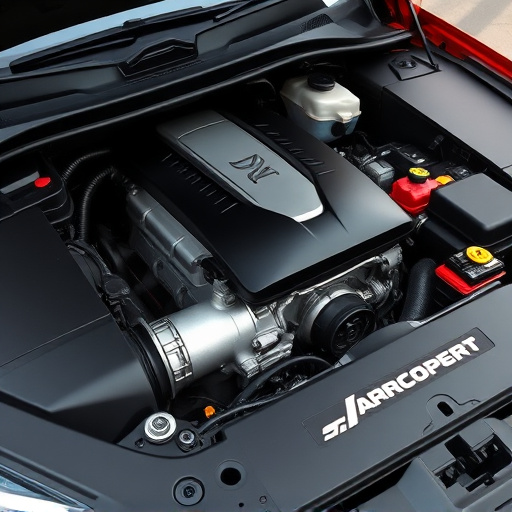
Brake caliper covers serve a dual purpose. They not only enhance the aesthetic appeal of your vehicle’s wheels by giving them a sleek, clean look, but they also play a crucial role in maintaining optimal brake performance. These covers protect the delicate calipers from road grime, dust, and debris, which could potentially clog or damage the brake system. Over time, however, brake caliper covers can develop cracks, become faded, or suffer wear and tear, leading to reduced effectiveness and potential safety hazards.
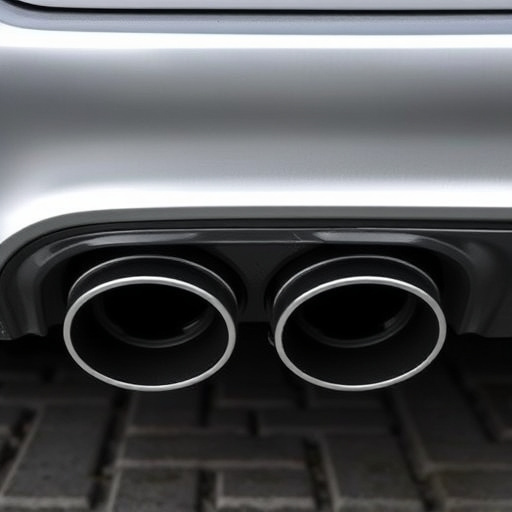
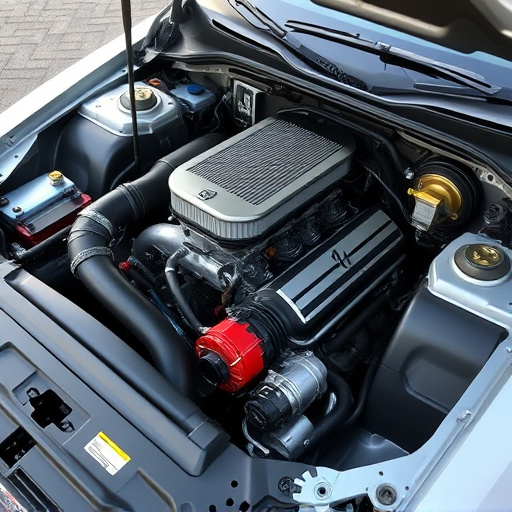
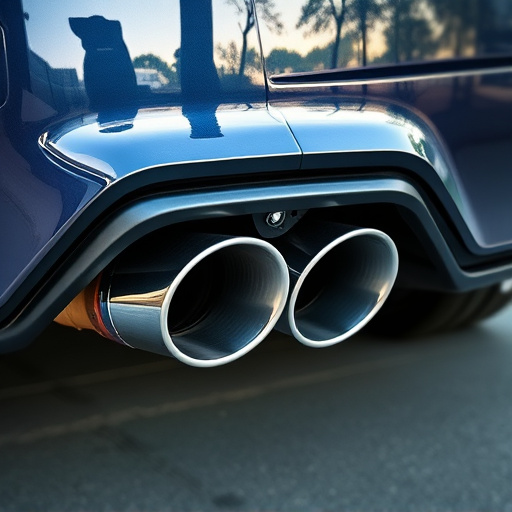
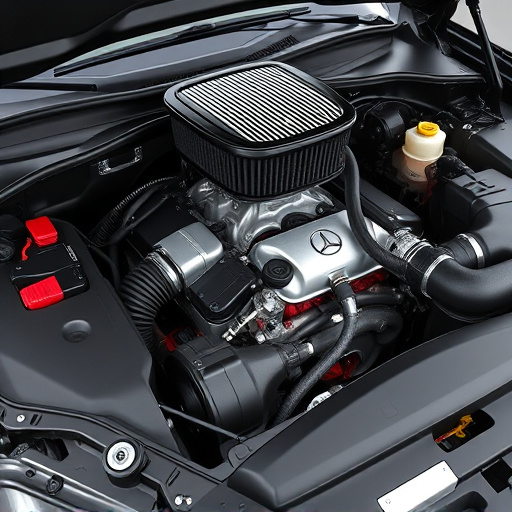
Common issues with brake caliper covers include peeling paint, cracks due to extreme temperature changes, and corrosion caused by exposure to harsh weather conditions. Some vehicle owners also replace their covers to match upgraded performance air filters or air filter kits, enhancing the overall look of their car’s undercarriage. Additionally, when installing new exhaust tips or making other aesthetic modifications, replacing the brake caliper covers can ensure a cohesive and polished finish.
Preparing for Replacement: Tools and Safety Measures
Before tackling the replacement process, ensuring you have the right tools and prioritizing safety is paramount. Gather a set of high-quality socket wrenches in various sizes, as well as a brake caliper cover removal tool (often a specialized plier-like device). Protective gear, including gloves and safety glasses, should be worn to safeguard against debris and potential injuries. Additionally, having a jack and jack stands ready for vehicle lifting will ensure stability and accessibility during the process.
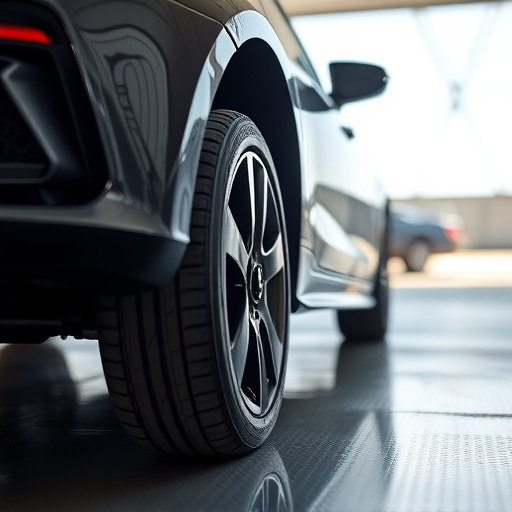
A crucial step in the preparation phase is ensuring your workspace is clean and well-lit. Removing the wheel and placing it upside down on jack stands provides easy access to the brake caliper covers without disrupting suspension components or exhaust systems. This meticulous approach not only facilitates a smoother replacement but also contributes to maintaining optimal vehicle performance throughout the process.
Step-by-Step Guide: Replacing Brake Caliper Covers Efficiently and Without Damage
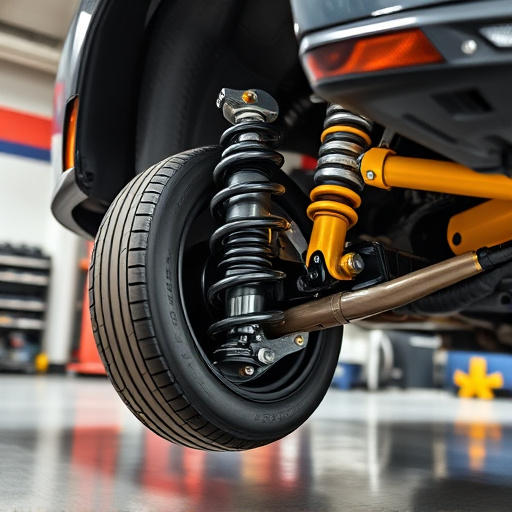
Replacing brake caliper covers efficiently and without damage requires a systematic approach. First, gather all necessary tools and materials, including new caliper covers, lubricant, and protective gear. Then, ensure the vehicle is on a level surface with the parking brake engaged for safety. Next, locate the caliper covers, typically found at the front of each wheel hub. Loosen but do not remove the screws securing the old covers to avoid damaging underlying brake components, such as performance air filters or intake parts.
Once accessible, carefully lift off the old caliper covers. Inspect the brake calipers for any signs of wear or damage. Clean the area thoroughly to ensure a proper seal when installing new covers. Apply lubricant to the edges of the new caliper covers and gently slide them into place. Tighten the screws securely but avoid excessive force to prevent deforming the brake components. Double-check all connections, ensuring no parts are loose or damaged, before resuming normal driving conditions.
Replacing brake caliper covers is a crucial task for maintaining your vehicle’s aesthetics and ensuring optimal braking performance. By understanding the role of these components, identifying common issues, and following a meticulous preparation process, you can efficiently replace them without causing damage. The step-by-step guide provided in this article offers a straightforward approach, enabling car owners to tackle this job with confidence. Remember, proper maintenance of brake caliper covers is essential for both safety and style, keeping your vehicle in top condition.