


Brake caliper covers protect and improve braking performance, but off-road use can damage them. Regular cleaning with automotive soap, brush, hose, and dedicated tools is crucial to maintain integrity, ensure safe driving, and enhance wheel aesthetics. Follow a 5-step process: remove wheels/calipers, inspect for damage, clean with caliper cleaner, rinse thoroughly, then reinspect before reinstallment.
After intense off-road adventures, brake caliper covers often return with stubborn dirt and grime. This guide is your go-to resource for a comprehensive cleaning process. We’ll walk you through understanding the impact of rough terrain on these crucial components, outline essential tools, and provide a detailed step-by-step approach to restore them like new. Get ready to revive your vehicle’s braking system with a fresh set of clean caliper covers!
- Understanding Brake Caliper Covers: Off-Road Impact
- Preparation and Tools Required for Cleaning
- Step-by-Step Guide to Effective Caliper Cover Restoration
Understanding Brake Caliper Covers: Off-Road Impact
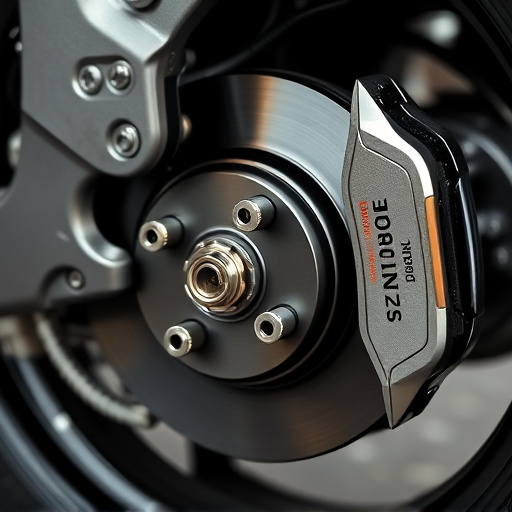
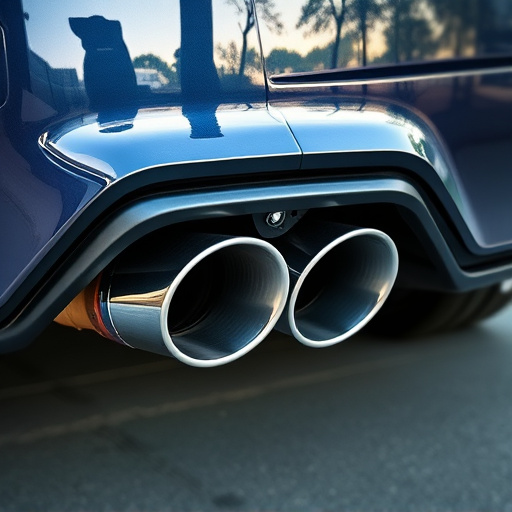
Brake caliper covers are an essential component of a vehicle’s braking system, designed to protect and enclose the brake calipers and pads. These covers serve multiple purposes, including preventing debris from entering the brake assembly, reducing corrosion, and enhancing the overall aesthetics of the wheels. Off-road adventures can take a toll on these covers, however, due to the harsh terrain and potential encounters with sharp objects like rocks and branches.
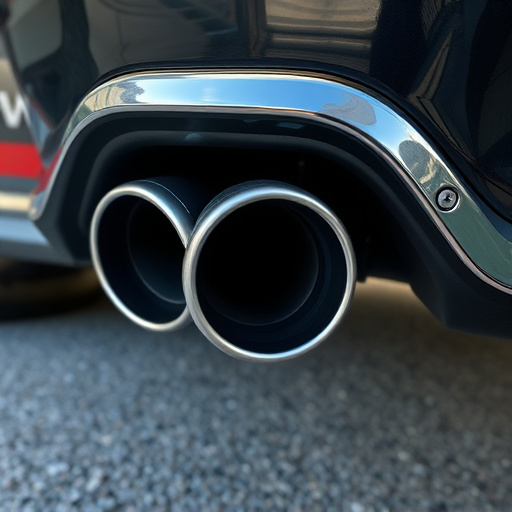
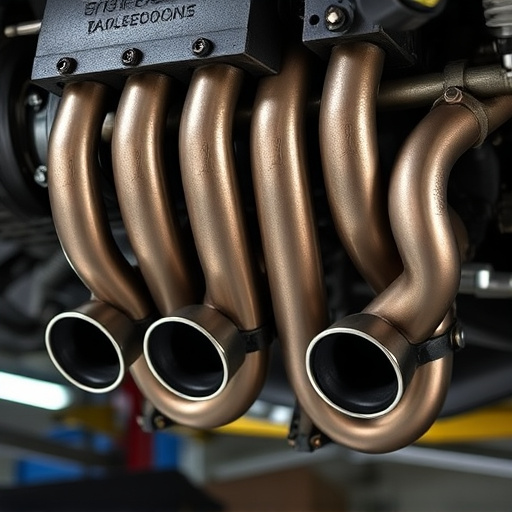
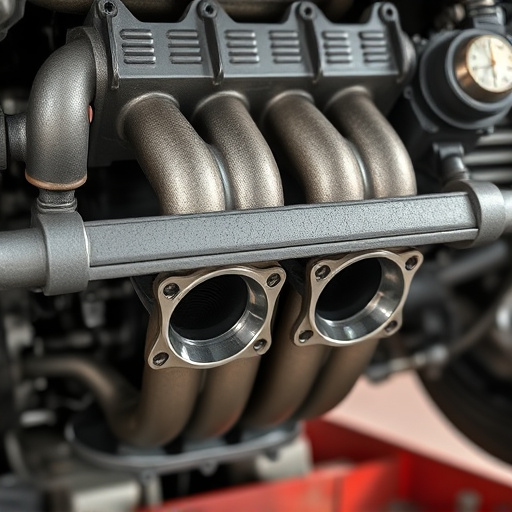
During off-road use, brake caliper covers may sustain damage or become contaminated with dirt, dust, and other elements. Exhaust mufflers from vehicles ahead can also leave residue, while the intense heat generated during braking can cause warping or discoloration. For those who prioritize performance brakes and want to ensure optimal stopping power, regular cleaning and inspection of these covers are crucial. This maintenance practice not only restores their original condition but also guarantees the efficient operation of the brake pads and calipers, enhancing safety and vehicle control on and off the road.
Preparation and Tools Required for Cleaning
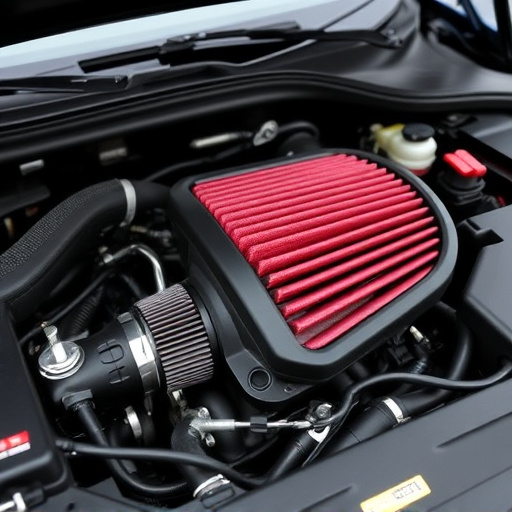
Before tackling the cleaning process, it’s crucial to gather the right tools and materials to ensure optimal results. For effective brake caliper cover cleaning after off-road adventures, you’ll need a few essential items. Start by acquiring a high-quality automotive soap designed for tough stains. This specialized cleaner will help dissolve grease, dirt, and grime that have built up during rough terrain driving. Additionally, invest in a soft-bristled brush or cloth to gently scrub the surfaces without causing damage. A garden hose with a powerful spray setting is also recommended for rinsing. If your vehicle features performance air filters or intricate air intake systems, consider using a dedicated cleaner for these components as well, ensuring every part of your off-road setup is maintained.
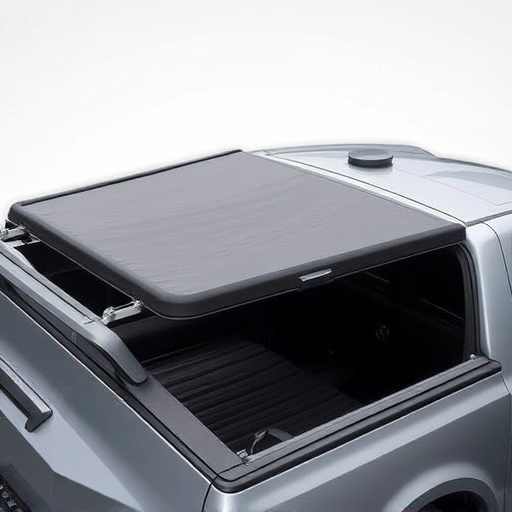
Don’t underestimate the importance of proper preparation. Park your vehicle on a level surface and engage the parking brake for safety. Loosen any decorative or protective covers over the caliper areas to expose the brake caliper covers fully. This step is particularly important if you’ve installed aftermarket enhancements like coilover kits, as these modifications may have unique cleaning requirements. Ensure all tools and materials are within reach before beginning the cleaning process to maintain efficiency and convenience.
Step-by-Step Guide to Effective Caliper Cover Restoration
Cleaning and restoring your brake caliper covers after off-road adventures is crucial for maintaining optimal braking performance. Here’s a step-by-step guide to ensure like-new condition:
1. Remove the Wheel and Calipers: Begin by safely removing the wheel and calipers from your vehicle. This allows easy access to the caliper covers, ensuring a thorough cleaning without interference.
2. Inspect for Damage: Before proceeding, carefully inspect the caliper covers for any debris, dirt, or damage caused by off-road conditions. This includes checking for cracks, breaks, or warping, which might require replacement parts.
3. Demolish and Clean: Use a dedicated brake caliper cleaner to remove stubborn grime and contaminants. Apply the cleaner using a soft brush or cloth, working into the nooks and crannies of the covers. For hard-to-reach areas, consider using a small, delicate tool to ensure a thorough clean without damage.
4. Rinse Thoroughly: After applying the cleaner, rinse the caliper covers with high-pressure water to remove all residue. Ensure every trace of cleaner is gone to prevent any potential corrosion or chemical damage.
5. Dry and Inspect Again: Allow the caliper covers to dry completely. Then, reinspect them for any remaining debris or issues. If satisfied, you’re ready to reinstall them, ensuring proper alignment and secure fastening.
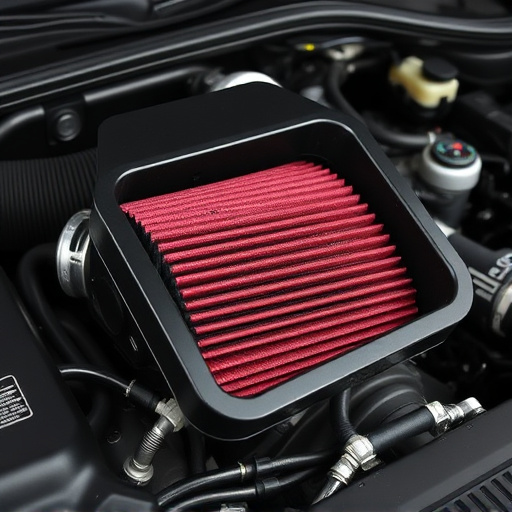
Remember, a clean and well-maintained brake system is key to your safety on and off the road. Regularly checking and cleaning your caliper covers, along with servicing your vehicle’s other critical components like performance air filters and air intake systems, can significantly enhance braking efficiency and overall driving experience.
After tackling off-road adventures, your brake caliper covers may require a thorough cleaning to restore their original condition. This guide has equipped you with the knowledge of potential impacts and essential preparation steps. Now, armed with the right tools and a step-by-step approach, you’re ready to effectively clean and rejuvenate your brake caliper covers, ensuring optimal performance and aesthetics for your vehicle’s braking system.